
|
ASSEMBLY OF THE FACTORY **************************************************************************************** Read the entire assembly section before you began, acquire the tools you need before you began, if you are a child please seek help from an adult before you try this. **************************************************************************************** |
|
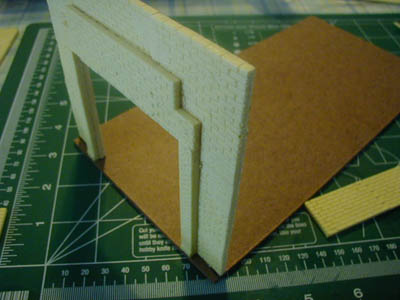 Glue the front of the factory on to the 5x10 inch building base. We used a glue accelerator for our construction. it is Bob Smith Industries INSTA-CURE+ and accelerator which can be bought form Hobby Town USA or most hobby shops will carry something similar. It works fast so be careful if you are going this route. |
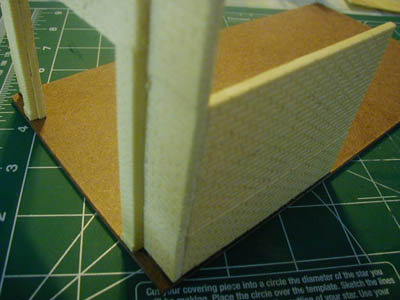 Add the walls you wish, but be sure to glue inside the back of the front wall as seen in the picture. |
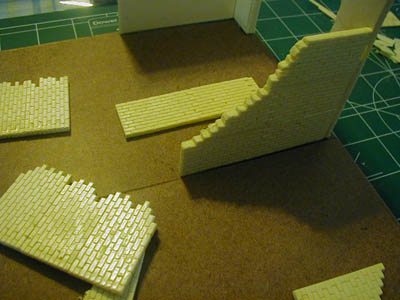 The next steps are just adding walls until you run out or satisfied with your factory. |
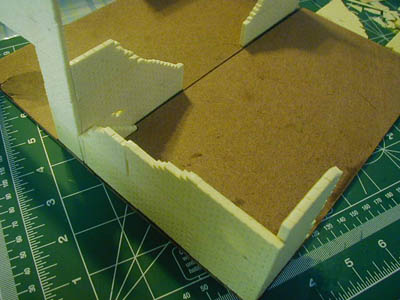 When building consider that you are going to be moving the walls around for different layouts. |
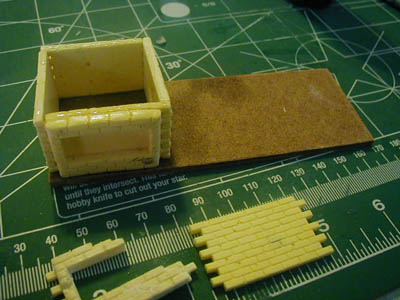 The furnace construction is 3 walls and the furnace opening, the "3 bricked" area is the bottom of the furnace area and should be on the ground. |
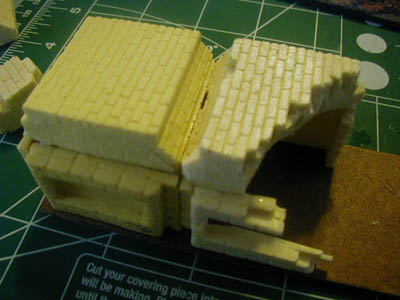 The ruined furnace is the same except you they will be ruined. |
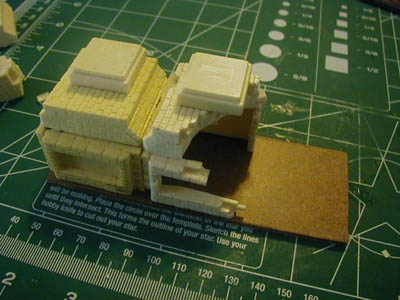 The chimney mounts are next... |
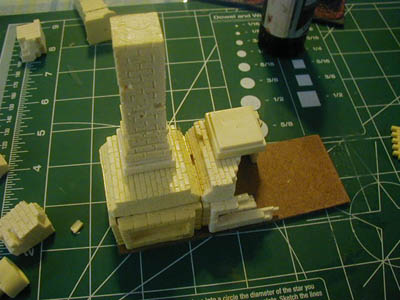 Then you add the second stage to the complete chimney... |
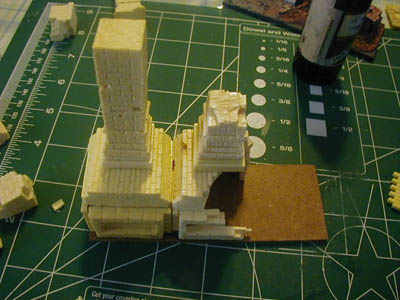 The ruined chimney base to the ruined furnace... |
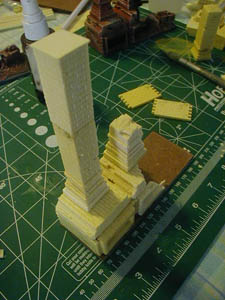 The final chimney to the piece in place... |
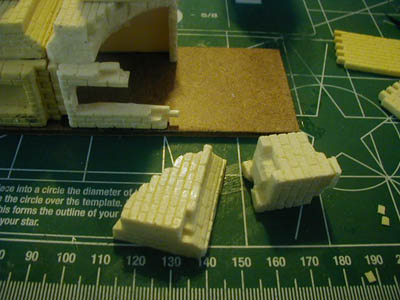 Now for the furnace ruined pieces, you can place them any way you like. |
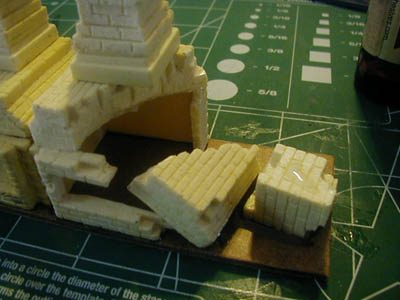 Now that they have been glued in place, we wanted to add some fallen bricks on top of them for extra detail... |
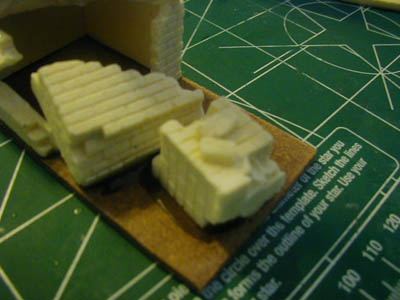 Here they are... |
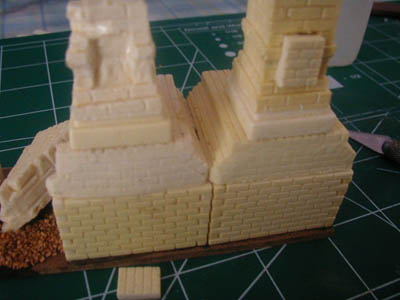 Plug in the opening i the back with the provided brick sections... |
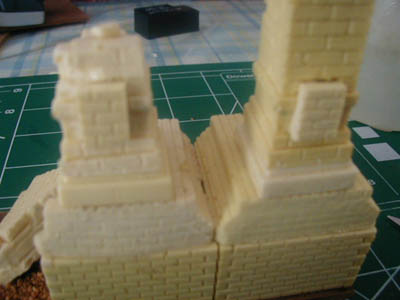 And here they are... |
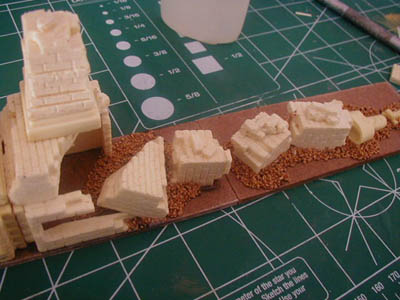 This is adding the "Bag-O-Rubble which will be covered later... |
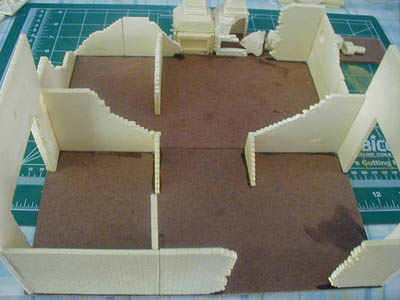 The walls have been added to our liking, note the many openings for enhanced game play! |
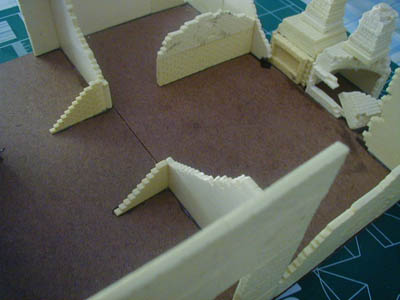 When building the factory we left an area for the furnace area to be placed. |
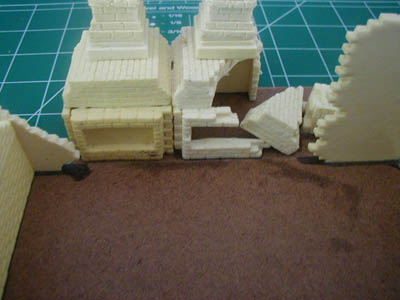 Here is a better shot of that area. |
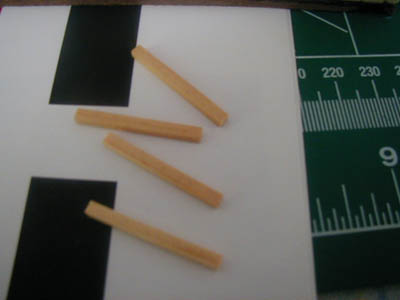 Locate the 4 brackets items... |
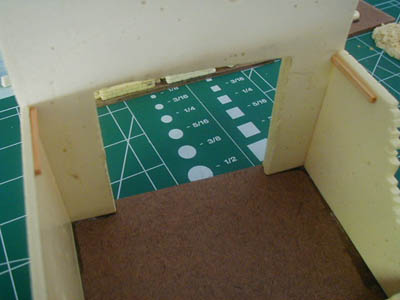 Glue them in this area of he factorys opening front and back to mount the catwalk on to. |
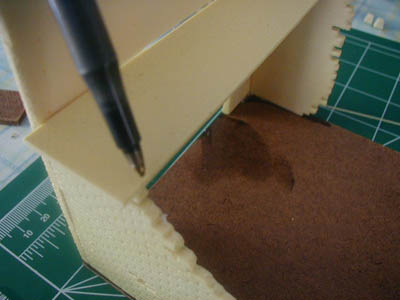 Measure off both cat walks for both sides... |
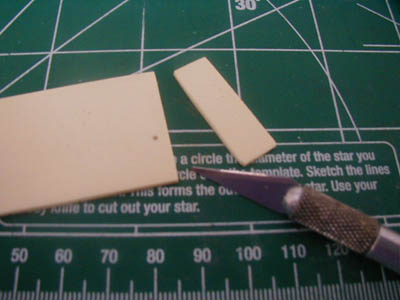 Score the catwalk section and "snap" carefully. be sure you score it well or you may snap off to much! |
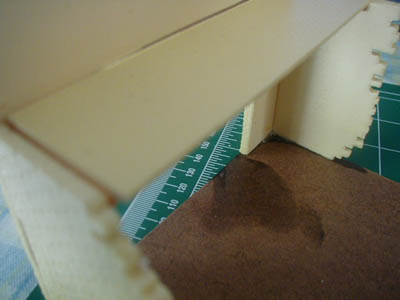 A perfect fit! |
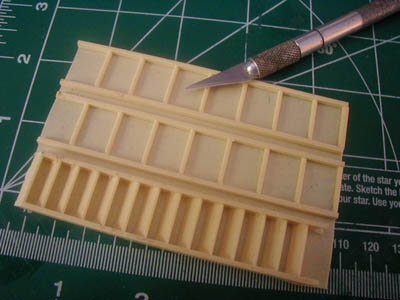 Next locate the catwalk guard rails and steps... |
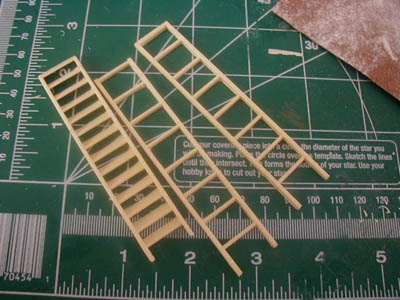 With a sharp blade score the thin film between the rails / steps and "pop" them right out. once again be careful to score deeply so the pop right out. |
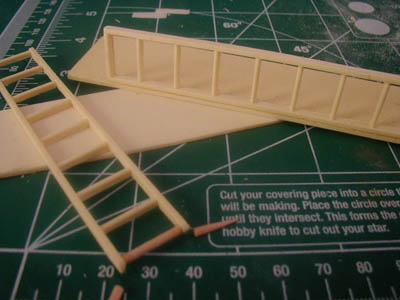 Glue the guard rails to the catwalks. Note: we used a tooth pick to add one additional rail support just for detail. |
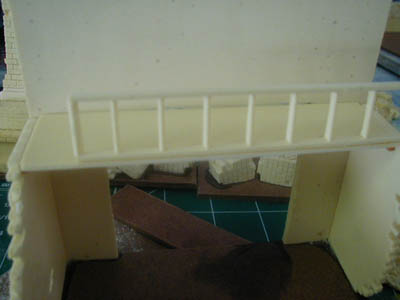 There is it in place. |
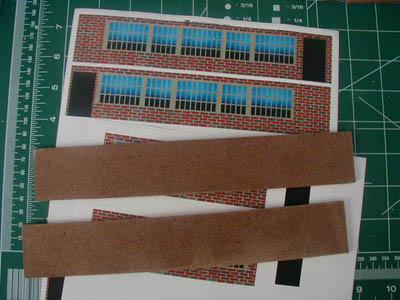 Next locate the support wall, these are not resin but hard board. these are added support and keeps the model straight .And off course is for mounting the roof. Save the window sheets for the painting later. |
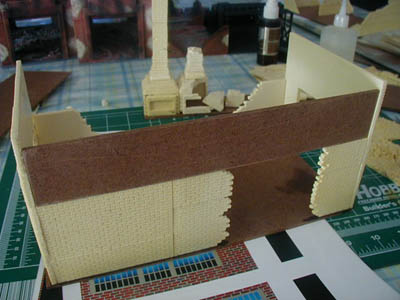 Simply glue it into place. |
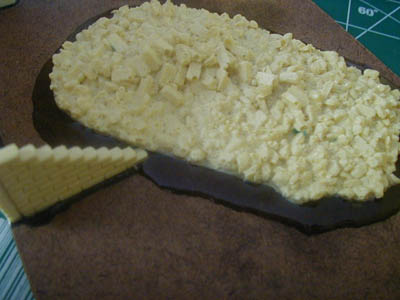 Once you glue the rubble into place, add some extra to the edges ... |
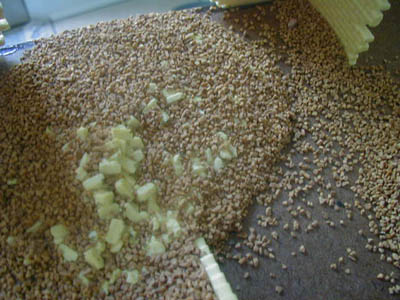 Pour generous amounts of rubble on the area and let dry... |
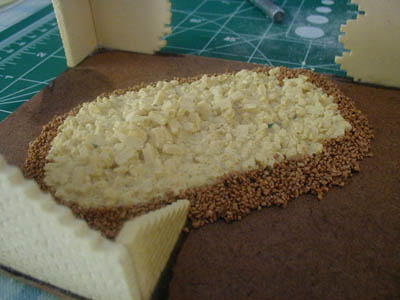 There you go... |
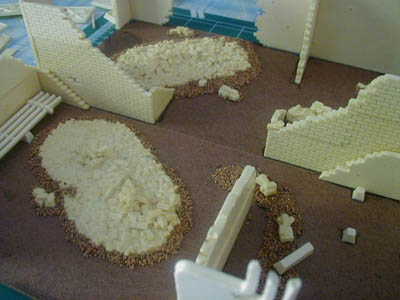 continue until you are satisfied, you can glue bricks on top of the rubble areas for more detail as we have done. |
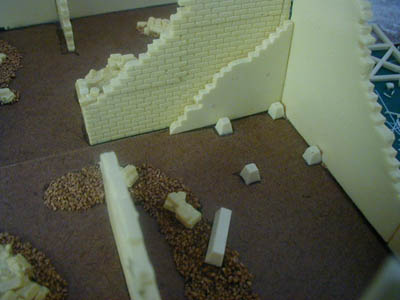 We wanted to add something extra so we added some cement blocks and drilled holed in them and added wood poles to mount a snipers nest to it... |
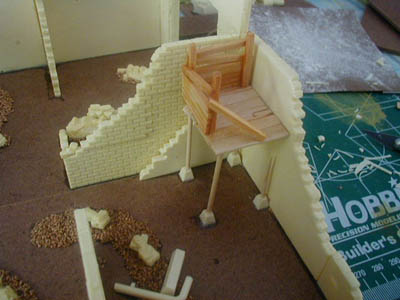 And here is it, you can also do this also and add further detail, once again take your time and enjoy. |
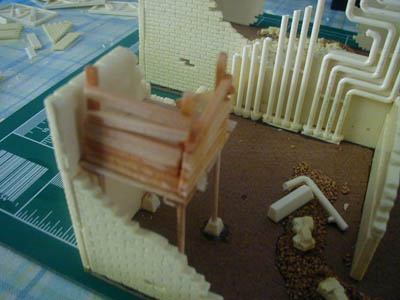 Another shop of the sniper's nest. |
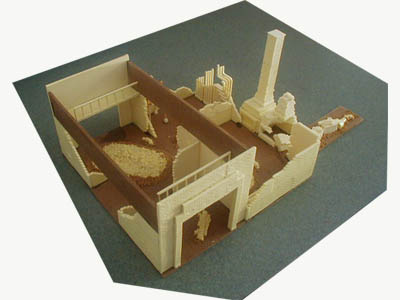 The factory is ready to paint, you can add as much detail as you wish! |
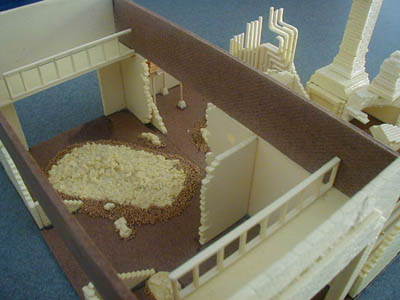 Note the pipes going up the wall, the small pipes are included for adding piped rubble to your factory - extra detail! |
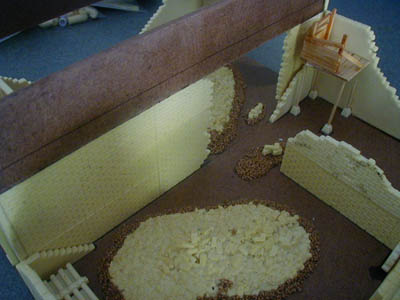 This is going to paint up nice... |
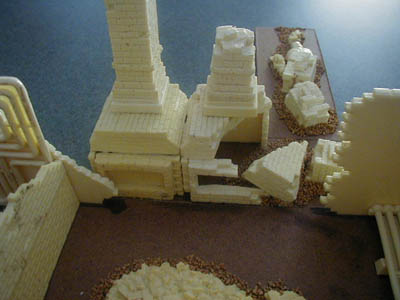 I really like the furnace area, lots of places to take cover! |
Remember keep in mind that your factory is going to be re arranged so build your walls according to this principal. When adding rubble, keep playable so your models can stand on the rubble, you can add a lot of rubble but then it will not be as playable. Before you attempt construction be sure to study the pictures carefully, and try different things. as you add sets to your factory each section will be like a single diorama with detail and character. Now it is time to: PAINTING THE FACTORY |


